Share this article

The Simple Guide to Exporting Chatbot Leads to Google Sheets (No Code Required)

Your AI chatbot is doing a great job of engaging visitors on your website 24/7. It’s capturing names, emails, and crucial details about what your potential customers want. But where does all that valuable data go?


If it’s just sitting in the back-end logs of your chatbot platform, it’s useless. It’s a "data silo." You can’t easily share it with your sales team, you can’t analyze it, and you can’t act on it quickly.


You need that data in a format everyone understands and can access. You need it in a spreadsheet.


Connecting your chatbot to Google Sheets is one of the most powerful and popular integrations you can set up. It turns your AI agent into an automated data-entry clerk that never makes a typo.


This guide will walk you through the simple, step-by-step process of setting up this automation using a tool like Zapier or https://www.google.com/search?q=Make.com. No coding skills are required.


Why Google Sheets?


Before we dive into the "how," here’s why this is a game-changer:


  • Centralized Data: All your leads from every conversation are in one place.
  • Instant Access: Share the sheet with your sales team, marketing department, or virtual assistant.
  • Real-Time Updates: Watch new rows appear as conversations happen live on your site.
  • Easy Analysis: Use built-in Google Sheets formulas to track lead volume by day, week, or source.

Step 1: Prepare Your Google Sheet


First, you need to create the destination for your data.


  1. Create a new, blank Google Sheet.
  2. Give it a clear name, like "Website Chatbot Leads".
  3. In the first row (Row 1), create headers for the data you want to capture. These must match the data your chatbot is collecting. Common headers include:
  • Timestamp (When the chat happened)
  • Full Name
  • Email Address
  • Phone Number
  • Service Interest (e.g., "Real Estate Buying", "HVAC Repair")


Important: Do not add any dummy data in the rows below yet. Just set up the headers.

Screenshot of a new Google Sheet with columns labeled

Step 2: Create the Trigger (The "Listener")


We need a way to "listen" for when your chatbot finishes collecting lead info. We’ll use a Webhook for this, which is a standard feature in integration tools like Zapier or Make.


If you’ve read our Ultimate Guide to Connecting Your AI Agent to Zapier, this will be familiar.


  1. Log in to your integration platform (e.g., Zapier) and create a new workflow.
  2. Choose "Webhooks" as the trigger app.
  3. Select the "Catch Hook" event.
  4. Copy the unique Webhook URL that is generated for you.


Step 3: Configure Your Chatbot (The "Sender")


Now, tell your chatbot where to send the data.


  1. Open your AI agent’s visual builder (e.g., Voiceflow, Stack AI).
  2. Go to the end of your lead capture flow. Add an "API Call" or "Webhook" block.
  3. In the block’s settings, paste the Webhook URL you copied in Step 2 into the endpoint field.
  4. Set the method to POST.
  5. Test It: Put your chatbot in "test mode" and run through a conversation, providing dummy data. This sends a sample packet to your integration tool so it knows what structure to expect.


 Screenshot of a chatbot builder's API block settings showing the pasted Webhook URL

Step 4: Connect & Map to Google Sheets


Back in your integration tool (Zapier/Make), you should see that it successfully received the test data. Now, tell it what to do with it.


  1. Add a new Action step to your workflow.
  2. Search for and select Google Sheets.
  3. Choose the event "Add a Row" (or "Create Spreadsheet Row").
  4. Connect your Google account and select the specific "Website Chatbot Leads" sheet you created in Step 1.
  5. Map the Data: You will now see the column headers you created. Click on each field (e.g., "Full Name") and select the corresponding data variable that came from your chatbot trigger (e.g., user_name ).


Tip: For the "Timestamp" column, most integration tools have a built-in option to insert the current date and time automatically.


Step 5: Test and Turn On


Once all fields are mapped, click "Test action".


Go to your Google Sheet. You should see a new row magically appear with the dummy data from your test chat.


If it works, congratulations! Go back to your integration tool and click "Publish" or "Turn On". Your automation is live.


From Spreadsheet to Sales


Getting your data into Google Sheets is the first step towards a more organized and efficient sales process. Now that your leads are centralized, you can:


  • Set up notifications so your sales team knows when a new row is added.
  • Import the sheet periodically into a more advanced CRM.
  • Use the data to create charts and reports to see how your chatbot is performing over time.


By automating this simple task, you save yourself hours of manual work and ensure that no lead ever slips through the cracks.

Recent Posts

Illustration of a robot agent holding a key, with a screen showing 3 steps to deploy AI in real estate.
February 23, 2026
Learn how to deploy a powerful, 24/7 AI inside sales agent to capture and qualify leads in 3 simple steps—no coding required.
Illustration: Two robot figures. Left: Hallucinating robot with confused expression. Right: Accurate response robot with green check.
February 23, 2026
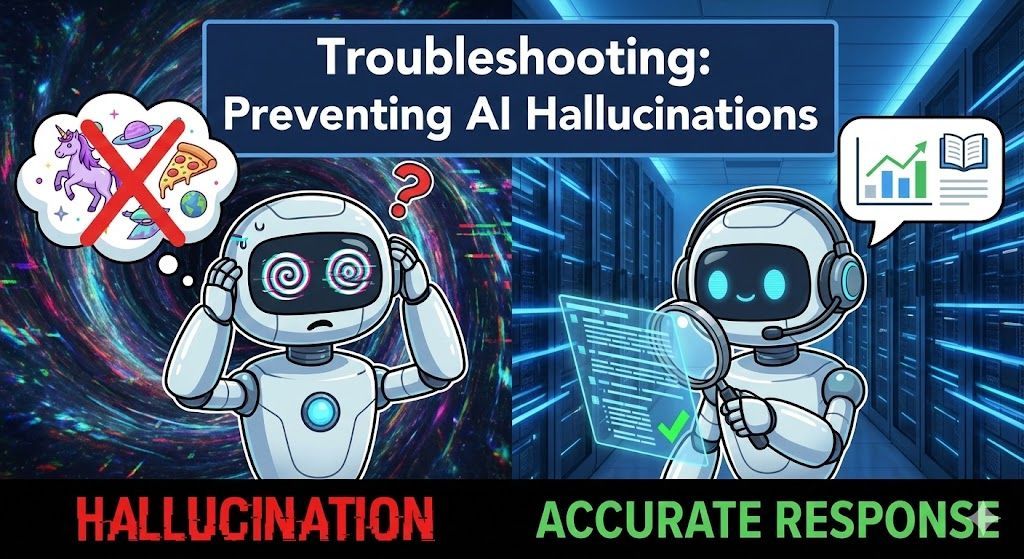
Learn the root causes of AI hallucinations and follow our 4-step troubleshooting guide to ensure your bot provides accurate, reliable answers every time.
Connecting AI agent to Zapier diagram: AI head with data flowing to the Zapier
February 23, 2026
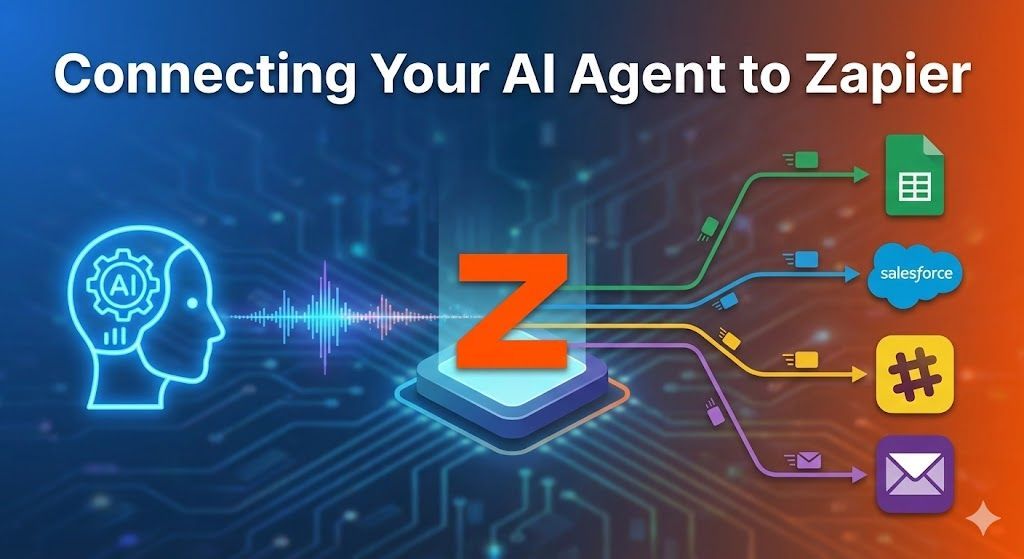
Unlock the full power of your AI chatbot. Learn how to connect your Sky Enterprise AI Agent to over 6,000+ apps using Zapier webhooks to automate tasks, sync data, and streamline workflows.
Man sleeping at desk, contrasted with a smiling bot assisting after-hours calls.
February 23, 2026
Missed calls cost you money. Learn how to optimize your AI chatbot to handle after-hours inquiries, capture emergency leads, and set clear customer expectations while you sleep.
Diagram showing AI chat leads routed to SMS via a cloud service. Blue, purple, and orange colors are used.
February 23, 2026
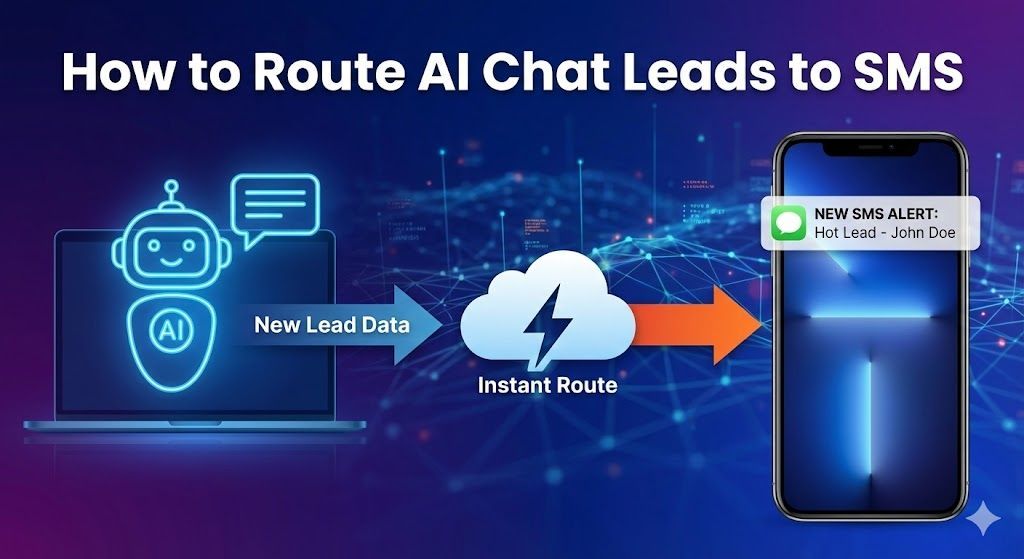
Stop missing hot leads buried in your inbox. Learn how to set up instant SMS text notifications whenever your AI chatbot captures a new prospect, ensuring you can respond in seconds, not hours.
Night scene: HVAC unit glows with digital booking screen.  Blue lights connect the unit and the house.
February 23, 2026
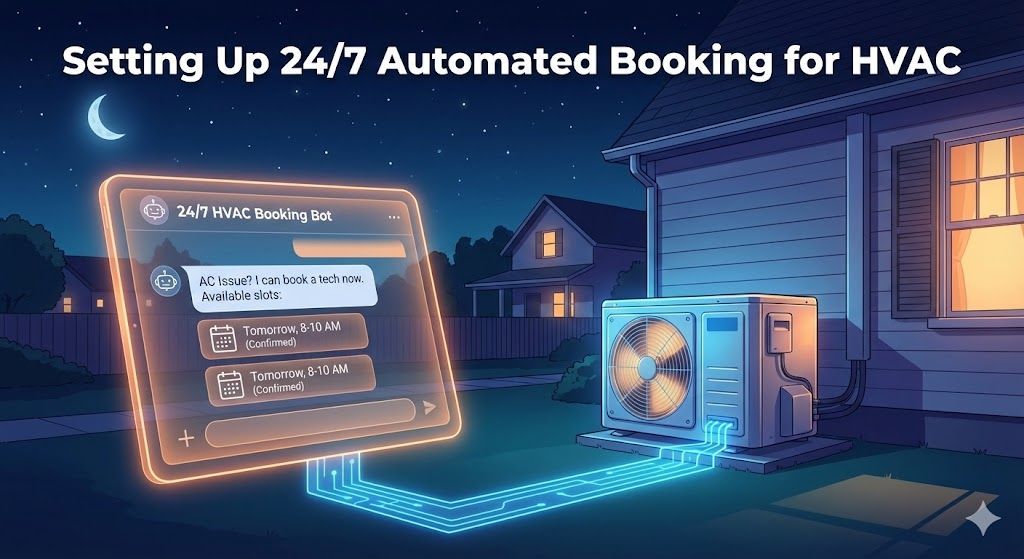
Stop missing calls and start booking jobs in your sleep. Learn how to set up a 24/7 AI chatbot that qualifies HVAC leads and schedules appointments directly on your calendar, completely on autopilot.
AI robot presenting top prompts for qualifying home buyers. Text on screen includes
February 23, 2026
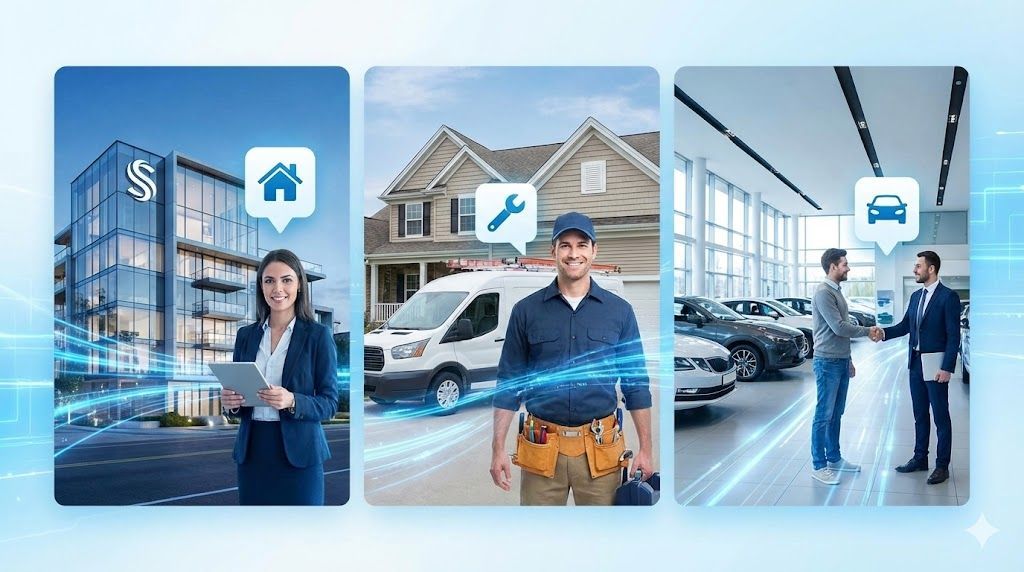
Discover the best real estate chatbot prompts to automatically qualify home buyer leads 24/7. Stop wasting time on tire-kickers and focus on sales-ready prospects.
Smartphone with AI lead capture syncing data to a laptop CRM via a digital pathway.
February 23, 2026
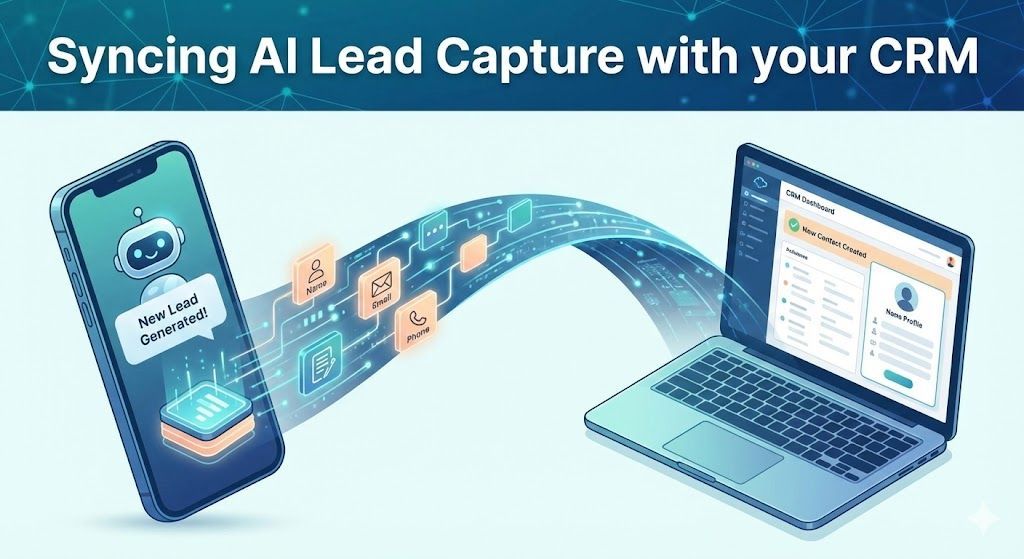
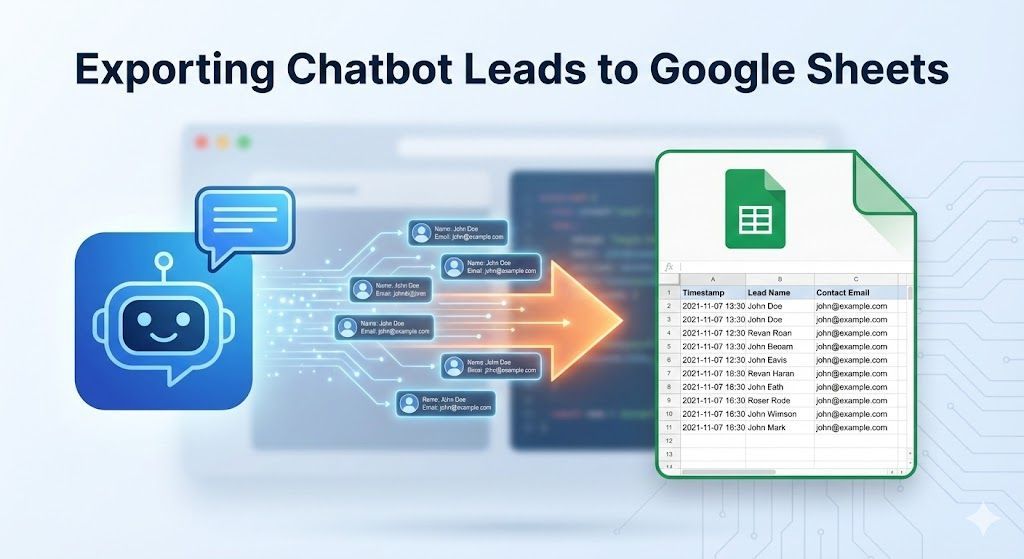
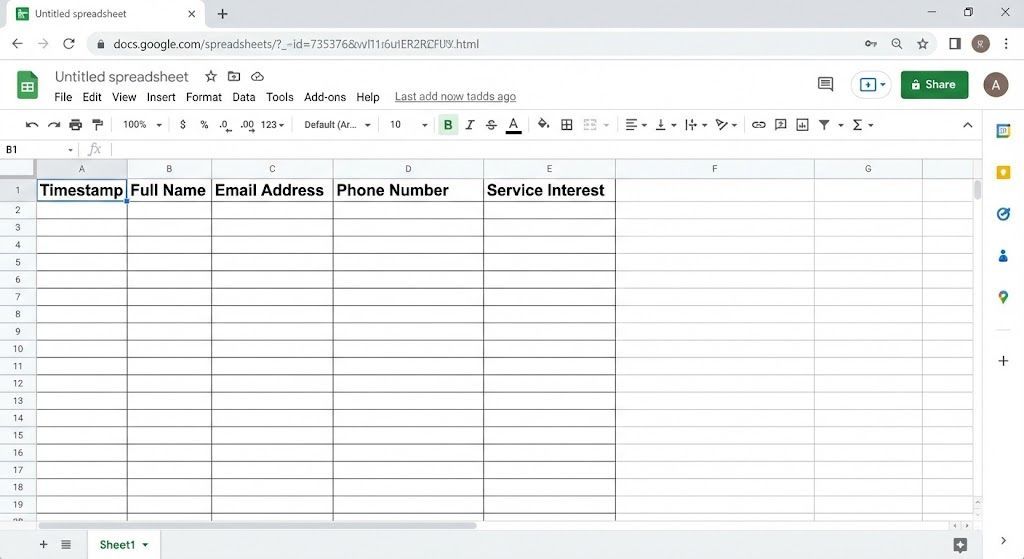
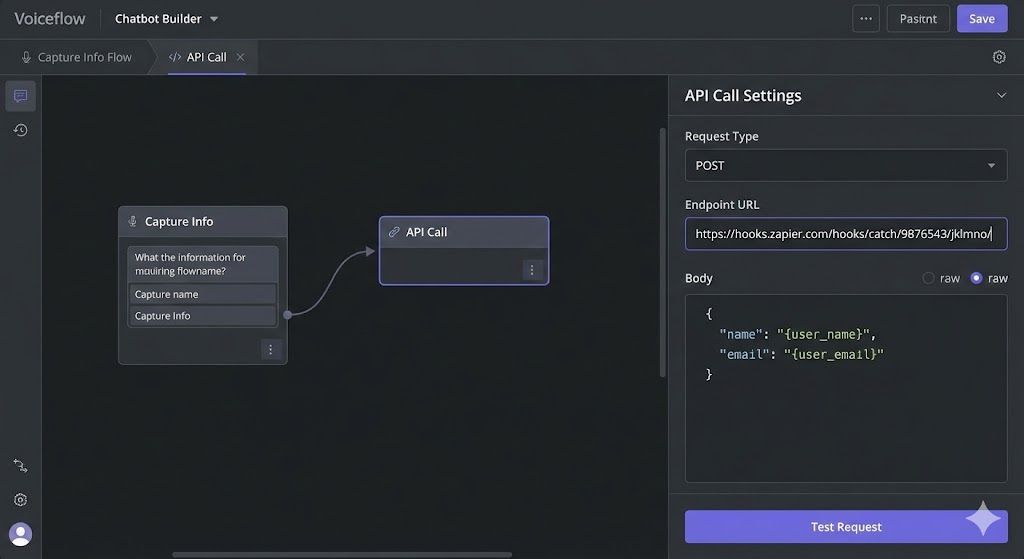
Learn how to automate your lead flow by connecting your AI chatbot directly to your CRM. Stop manual data entry and start nurturing leads instantly using webhooks and integration tools like Zapier.
Modern house linked to cloud data and a chat interface displaying real-time data analysis.
February 23, 2026
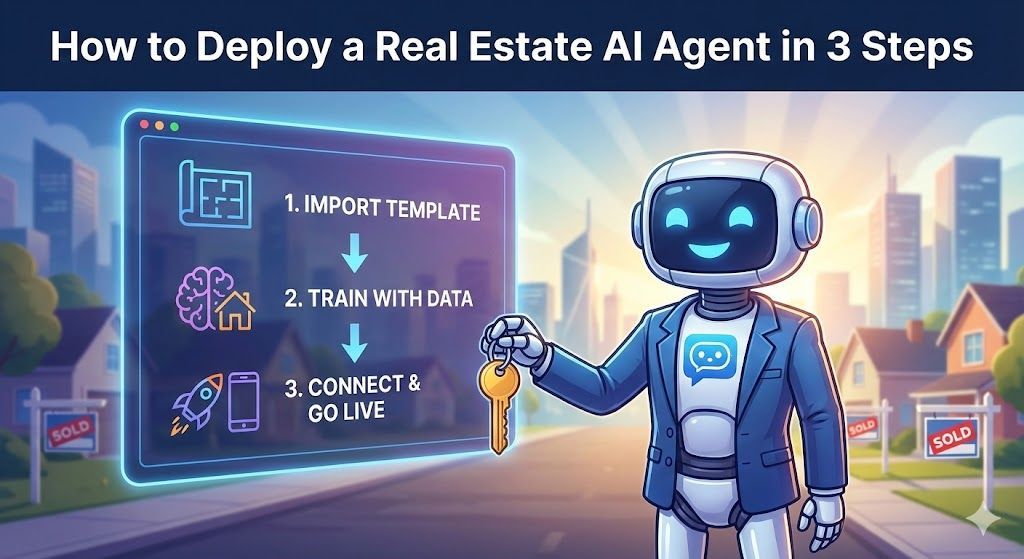
Learn how to deploy a turnkey Real Estate AI chatbot in minutes. Skip the complex logic mapping and start capturing, qualifying, and syncing leads to your CRM 24/7.
Agency Strategy: Blueprint for test-drive lead generation, with a car visible through a showroom window and a laptop and blueprint on the desk.
February 22, 2026
The Test-Drive Lead Blueprint How to position "Inventory-First" AI agents as a premium automation service for modern auto dealerships.
Show More